Initialisation
There is a one time page that you will have to fill out before you can log on to ATraq. The information is vital for our records and to protect your privacy.
Once this form is filled out, it will send all the information to our servers and will be used for future reference.
Preparing ATraq
As the first contact in ATraq, don’t forget that only you will be able to access everything (full access) for now. You should by now have the IP or URL of ATraq. Just click on the link and sign in. Each license that you have are the licenses for successive use of ATraq. Meaning that, if, for example, you have subscribed to 3 terminals, only 3 users are allowed to access the software at any one time. Although this can be limited, you are allowed to log on from any computer at any time.
Let’s have a look around the ATraq main page.
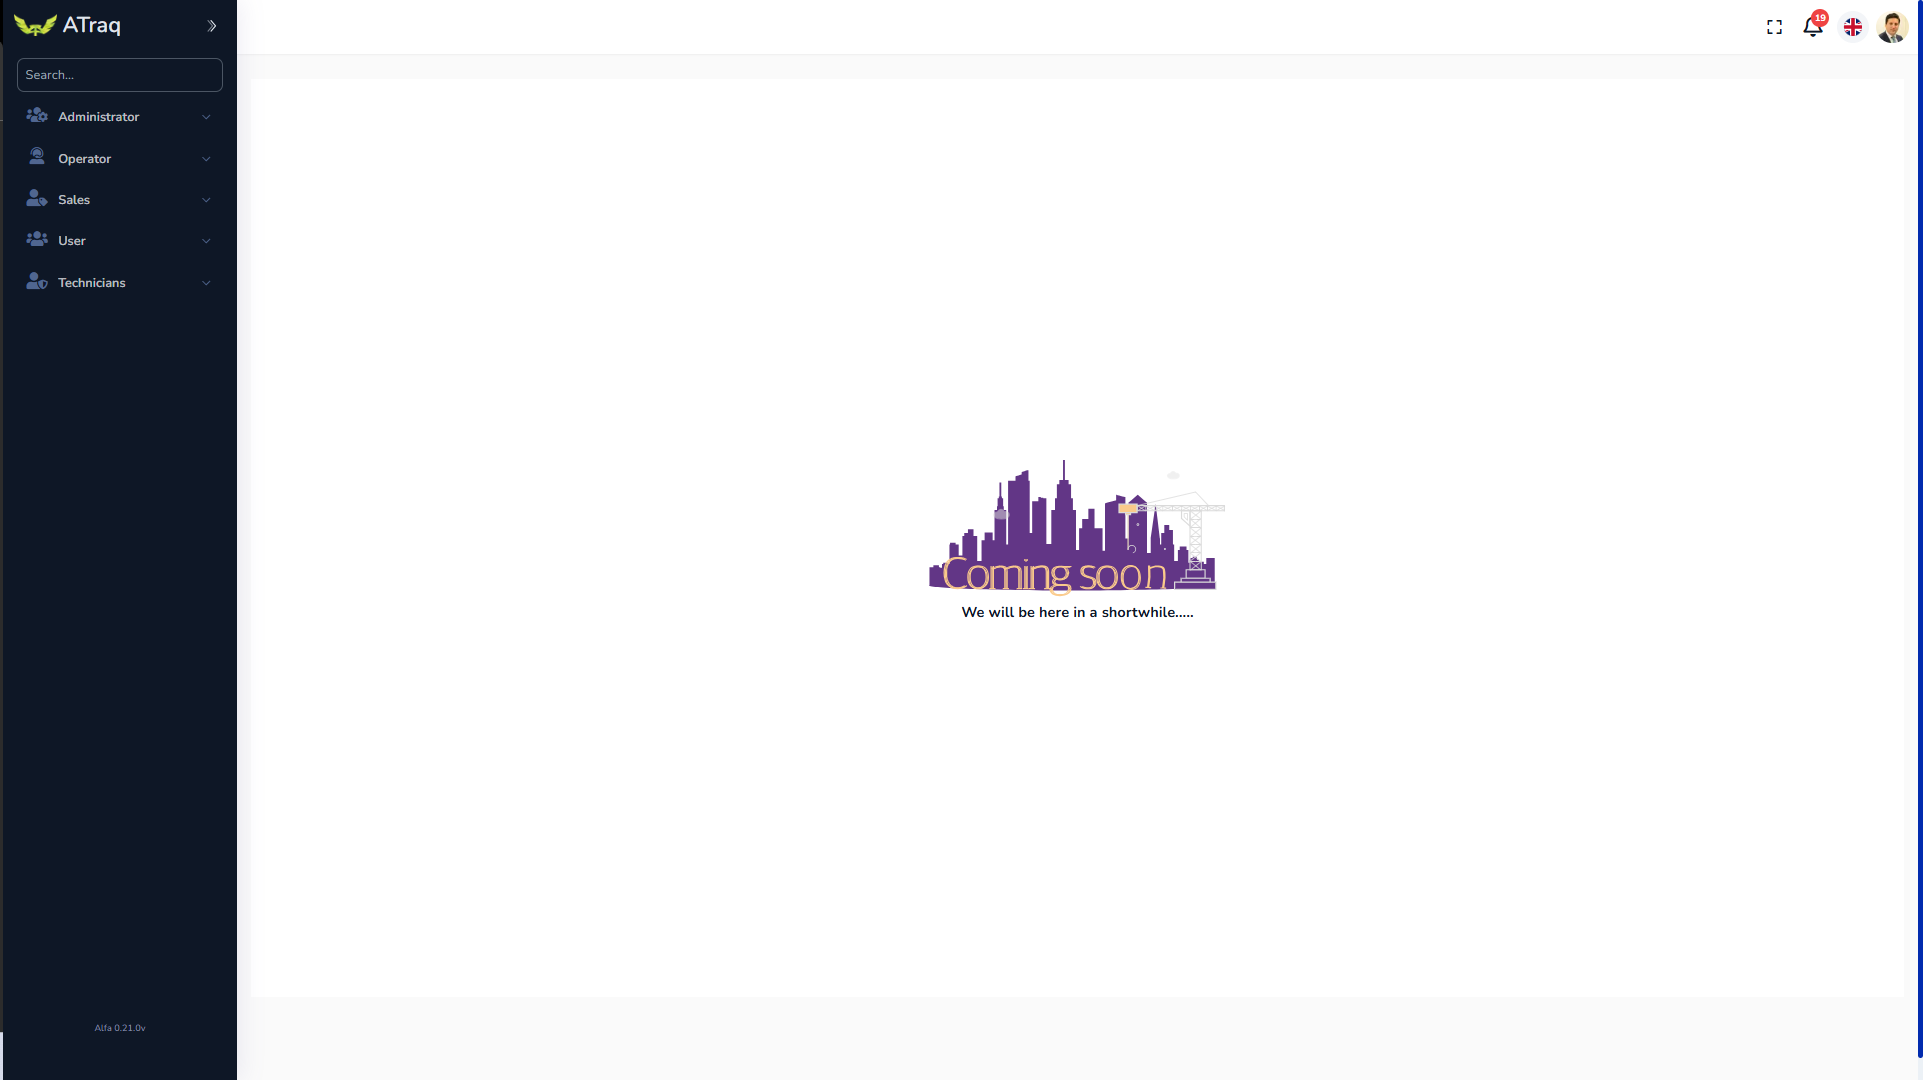
The main page consists of news and other features that you would like to share with everybody in the company. It also has statistics of the Sales team, the technical team, the support team, the operators and user metrics. This page is fully customizable and can be edited at any stage by administrators.
There are icons on the left that are by default hidden and can be toggled to be kept open with the help of clicking on the arrow on the top right corner of that strip. As you have full access for now, you will be able to see all of the features.
In the top right corner you will be able to see three icons. The first is a screen maximizing button. This will maximize the screen in the browser and you can exit any time by hitting the escape button. This may vary depending on browser or operating system. Next is the language button to change the language. Please note that this will change the language of ATraq but the details in ATraq, for example, Alarm Types, Signal Types, Account Types, etc, will not change. These must be changed from within the Administrator>Settings submenu. The next icon is the profile button. Once this is clicked, you will be able to access your profile or sign out of ATraq. As soon as you sign out, the license can be used on any other computer.
Profile
Let’s go over your profile. As soon as you click on the profile icon and then click on Profile, you will be able to see the main details. We fully recommend that you input as much information as possible. The more information that is entered the better ATraq does its work. Some of the advantages of having all details entered into ATraq include:
- If you have all of the General information entered, the operator will be able to distinguish that they are talking with the right person much easier than just having just your name and surname. ATraq will send you a happy birthday message on your birthday!
- If you have all of your Social Media accounts added, ATraq will be able to extract pictures from your account and create a visual 3D image of you to compare your face with faces detected in systems that provide video verification. The system will inform the operator of the percentage of resemblance of the user with the person seen in the videos. It will also dynamically update the call list by tracking your location sharing, for example, it will change the users that are overseas to lower priority in comparison to people that can check the premises.
- Your medical tab will have important life saving details that would be passed onto the ambulance technicians or doctors in the event of a life threatening event.
- From the Legal tab you can view the legal online contracts that you have confirmed earlier. This is good to always return to if you have any legal questions.
- You can always update your password from the Password reset tab.
Once your profile has been filled out, it is fully recommended that you upload a profile picture. This is very useful as you can always see who is logged in by simply looking into the top right hand corner of the screen.
Once you have created your own profile, we recommend that you initially add the following people to start the preparations in parallel:
- The General Manager/ Managing Director
- The Sales Manager
- The Technical Manager
- The ARC Manager
- The Customer Relations Manager
- The Support Manager
Some of these roles may be shared with the same people for smaller companies. That’s no problem. The best way to enter this is to go to Administrator>Accounts>Installer Accounts and click on the + Add button. Type in the Name of the Company, the address, Any other titles used by the company, The main switchboard numbers of the company, Fax and URL. Then you need to add the contacts so it’s best we put this in a little box as this is used almost everywhere in the software.
- Go to the email or telephone field (where there is one) and type in the email or phone number.
- Click on the magnifying glass on the right side of that field and a small window shall pop open. In it, there will be the contact that you are looking for.
- Click on the email/phone number and the contact is now registered for that field.
- If the email or telephone number does not come up with any results, click on the “New Contact +” button
- Fill in the fields in the upcoming screen. The fields needed are:
- Name
- Surname
- Mobile number
- Primary Language
- Click on the save icon in the lower right corner.
As soon as the window closes, the system will automatically send both an email and SMS message to the new contact. The system will store the details for a limited time until the contact actually confirms the message. Once the contact confirms the role that has been assigned to them, they will be stored in the database until they wish to opt out at any time. Upon confirmation, they will be forwarded to the profile page to complete their profile too.
To add the ARC Manager, go to Administrator>Settings>Operators and add them as an Operator. Once they are added to the system every contact is added with no access to the system as a default. You will now have to go and change the authorization level of each operator to the required preset level.
To make things simpler, we have prepared some preset authority levels of what we think would be required initially. You can always go and update these through the Administrator>Settings>Authorities.